When you upgrade the interior of your home, some improvements provide the timeless elegance and durability of the installation of hard wooden floors. Whether you replace the old carpet, old laminates or just update the living space, hardwood flooring installation provides value, beauty and long life to any room.
But before you dive into the installation process, it is necessary to understand what to expect - of preparation for final polishing. In this step-by-step guide, we will drive you through the installation process on the wooden floor and the way the carpet patch repair, laminated floor services and stretching services on the carpet will be affected to help you make decisions.

Step 1: Pre-Installation Consultation & Flooring Selection
Before anything installed, you will meet a floor specialist to discuss your requirements, design preferences and budget. You will detect different wood species (eg oak, salary or walnuts), finish (food, satin or shine) and installation methods (nailing, glue-down or liquid). This is also the phase where you want to determine whether you replace the old carpet or upgraded with laminated flooring services.
Important tips:
Ask about the pros and cons of solid vs. engineered hardwood.
Consider your region’s humidity levels and how it may impact wood expansion.
Discuss how existing floor coverings will be removed—especially if you're switching from carpet or laminate.
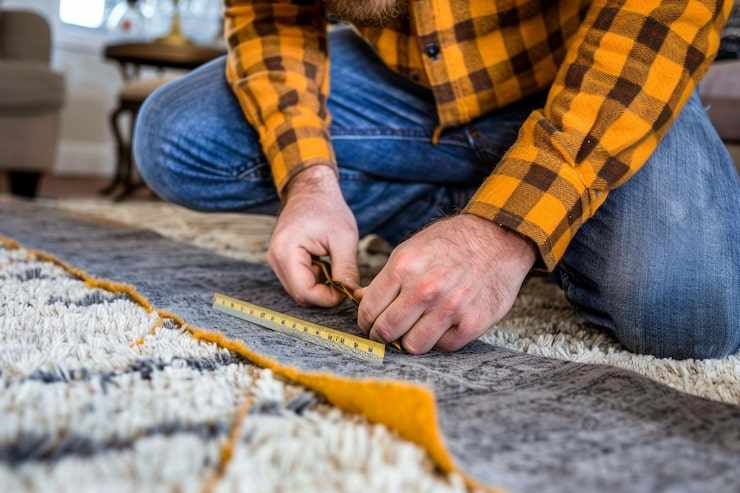
Step 2: Site Preparation
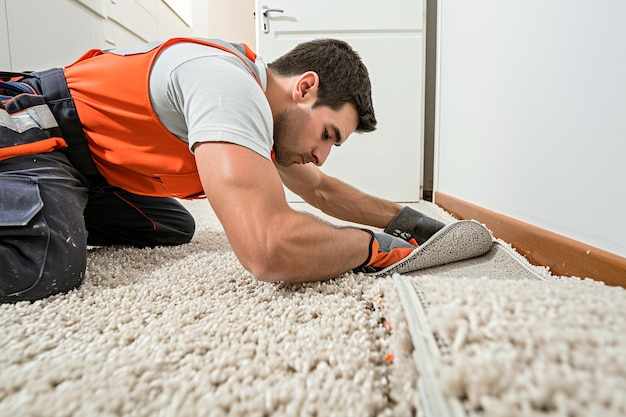
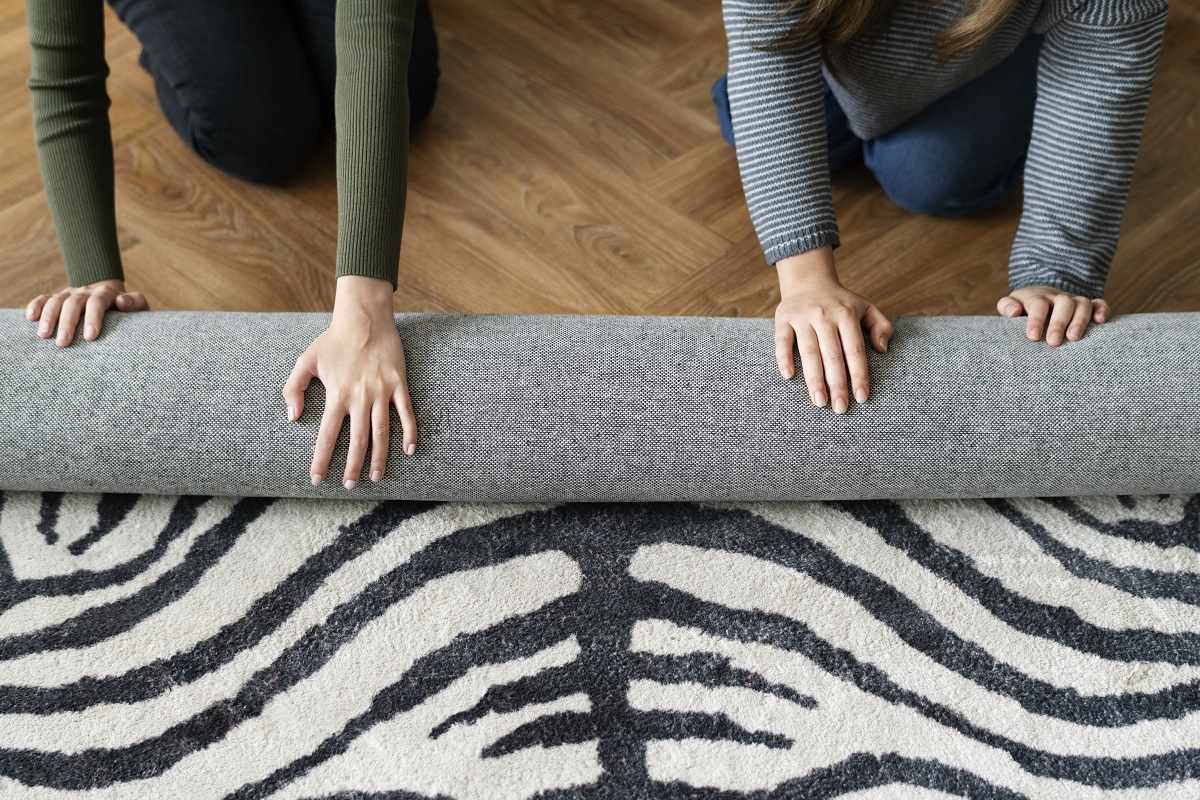
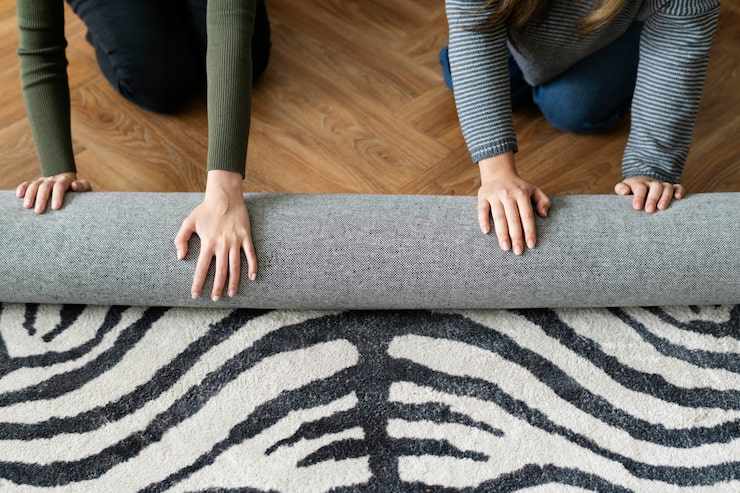
The preparation of the site is important for the installation of a smooth and successful hardwood flooring. The fall should be clean, dry, level and structurally justifiable. Your installer will also consider whether any previous flooring material needs to be absorbed. If you have wall-to-wall rugs that are loose or tilted, you may need fabric services for blankets before removing or recycling.
If there are damaged spots that are not replaced by hardwood, the carpet patch may be necessary to restore continuity in carpet areas around the repair.If there are damaged spots that won’t be replaced by hardwood, carpet patch repair may be necessary to restore continuity in adjoining carpeted areas.
What happens during site prep:
Existing flooring is removed (including nails, glue, or tacks)
Subfloor is inspected and repaired
Moisture levels are tested
Baseboards and thresholds may be temporarily removed
Step 3: Acclimation of Hardwood Flooring
Unlike other flower types, hardwood should be involved in the environment where it will be installed. This step prevents expansion or contraction after installation, which can lead to intervals or baking.
What to expect:
Hardwood planks are delivered and left to sit in the room for 3–7 days
Your HVAC system should be running to maintain normal room temperature and humidity
Keep doors and windows closed to stabilize the indoor climate
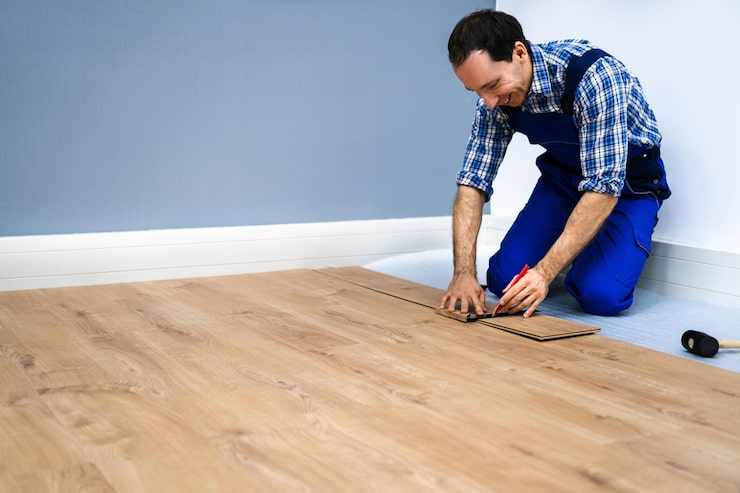
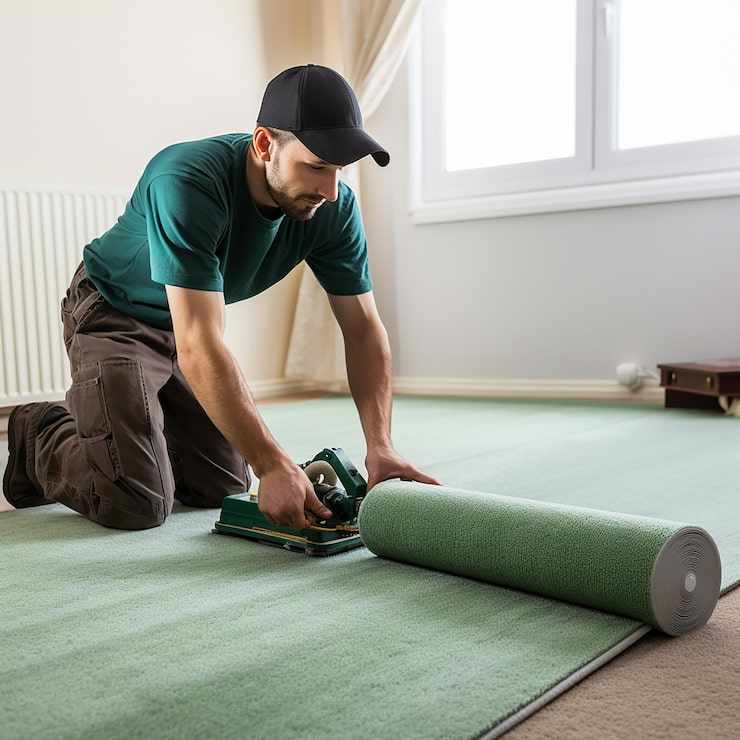
Step 4: Installation Day
When the floor is reduced, the time has come to start installing the wooden floor. Depending on the method (nail, glue-down or liquid), the procedure can be taken anywhere for an average room for 1 to 3 days.
Installation steps include:
Laying the underlayment (if applicable) for soundproofing or moisture protection
Planning the layout to ensure a balanced, symmetrical appearance
Installing the planks row by row, starting from one wall
Cutting and fitting wood pieces around doorways, vents, and tight corners
Securing the wood using nails, glue, or click-lock systems
Reinstalling baseboards and moldings for a polished finish
If you are infection with blankets or laminate flower services, the installer may also have to adjust the door heights and dice plugs to fit the height of the new floor.
Step 5: Clean-Up and Inspection
After installation, your crew will clean the space, remove the debris and inspect the floor to install it properly. A final review will be held to check uneven boards, intervals or loose pieces.
Tips:
Keep pets and children away from the work area during and immediately after installation
Don’t move furniture back into the room for at least 24–48 hours
Use felt pads under furniture to protect the finish
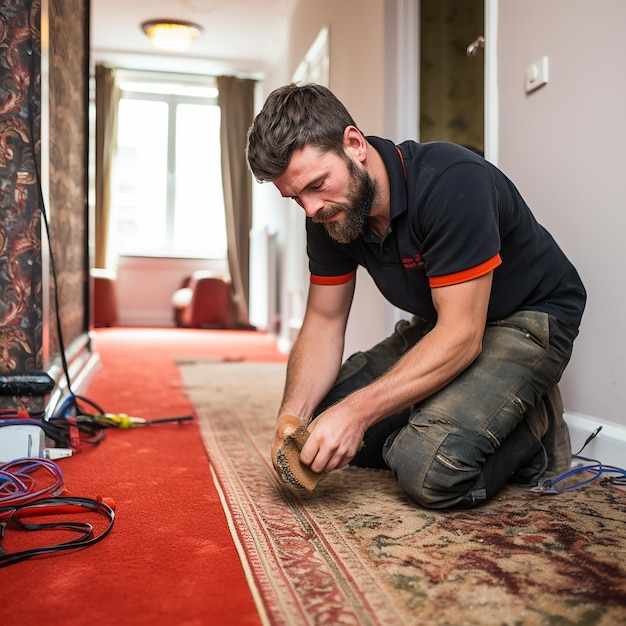
Step 6: Post-Installation Care and Maintenance
Proper maintenance ensures that your new hardwood floors remain beautiful for decades. Here you have to do post -installation:
Avoid mopping with excess water—use hardwood-safe cleaners
Sweep or vacuum regularly to prevent scratches from dirt
Place rugs in high-traffic areas
Maintain humidity between 35–55% to avoid wood warping
If you're maintaining different flooring types in the home (like carpet or laminate in other rooms), consider carpet patch repair and carpet stretching services to keep everything looking fresh and well-integrated with your new hardwood floors.
Hardwood Floors vs. Other Flooring Types
While hardwood floors are a premium option, many homeowners weigh them against carpet and laminate flooring services for cost, maintenance, and durability. Here’s a quick comparison:

Final Thoughts
A professional installation of hardwood floors brings timeless elegance, durability, and lasting value to your home. From the initial consultation to post-installation care, knowing what to expect can make the process smoother and more rewarding. Don’t overlook the importance of your existing floors—services like carpet repair, laminate flooring, and rug stretching can ensure a seamless transition between different flooring types. Ready to transform your space? Trust a reliable local flooring specialist like Sunny Homes, who truly understands how to deliver quality results that fit your home and lifestyle.


Write a comment ...